xCloud Backup Setup for Synology
Step-by-Step Guide
xCloud: Obtain credentials for xCloud Backup
Info
Prerequisites: Registered xCloud account, confirmed activation email.
1. Log in to xCloud
2. Select the "xCloud Backup" product
3. Choose one of the packages (Safe S to XL) and activate it
4. Note the two credentials (Access Key and Secret Key)

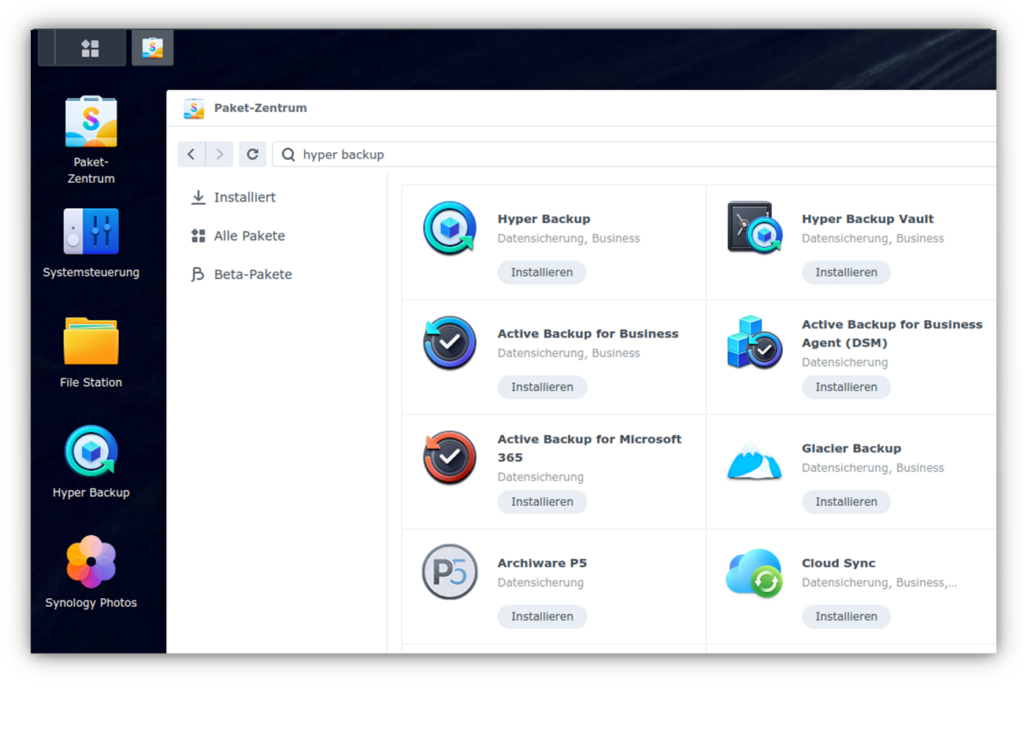
Synology: Install Hyper Backup
5. Access the Synology DSM of your NAS
6. Open the "Package Center" application, find & install the "Hyper Backup" package
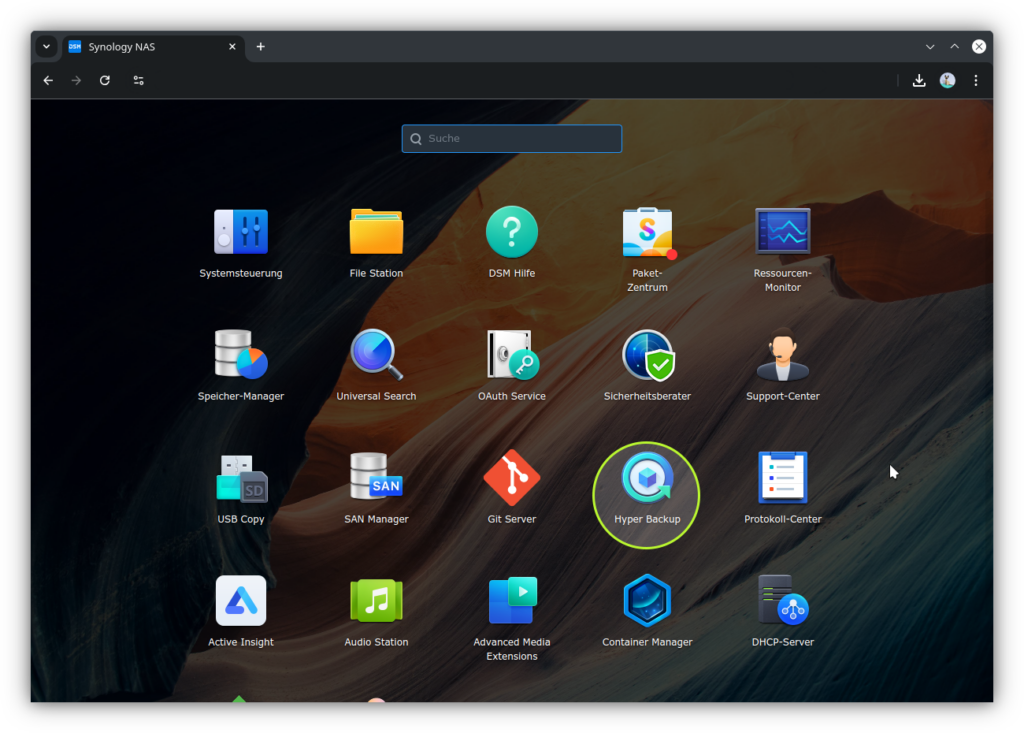
Hyper Backup: Set up a new backup
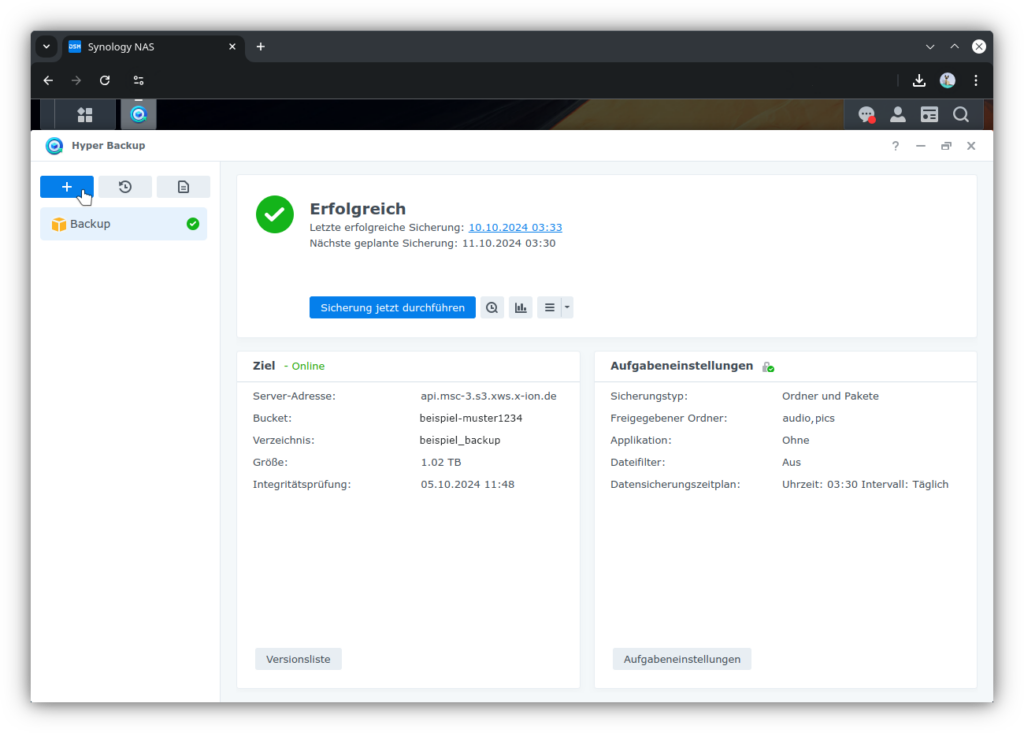
7. In Synology DSM, start the "Hyper Backup" package
8. Create a new backup via the "Create" button (➕) in the top left
9. Select the backup type: "Folders and Packages"

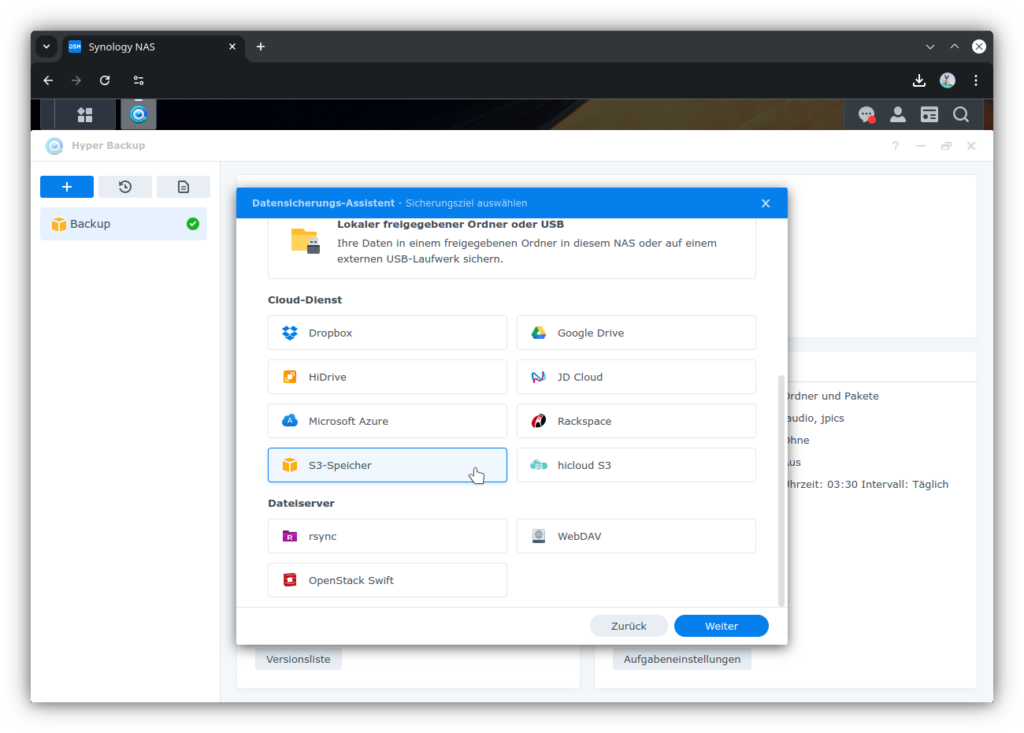
10. Select backup destination: Scroll down and select "S3 Storage"
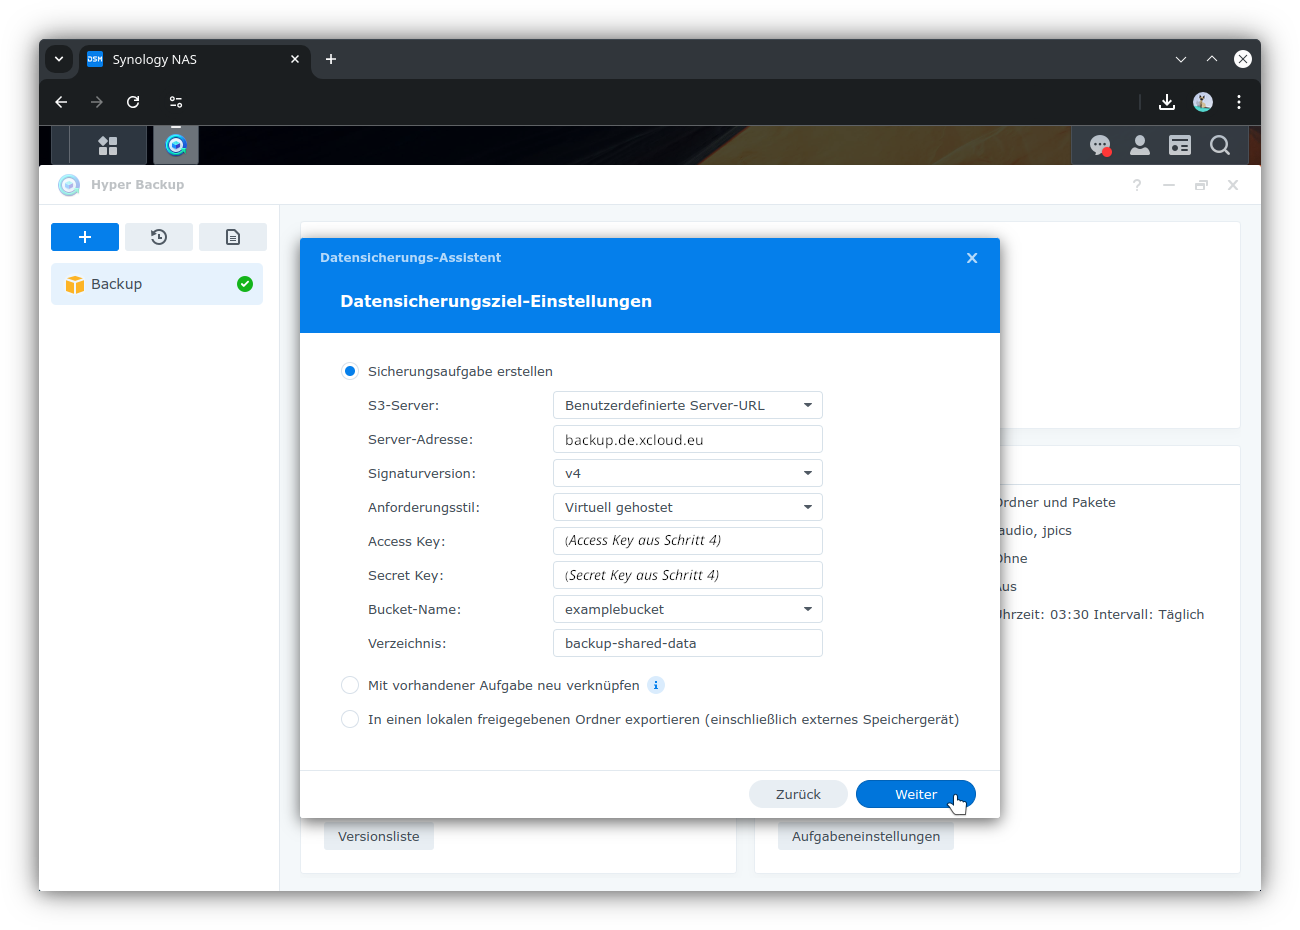
11. Configure the "Create backup task" settings with the following details:
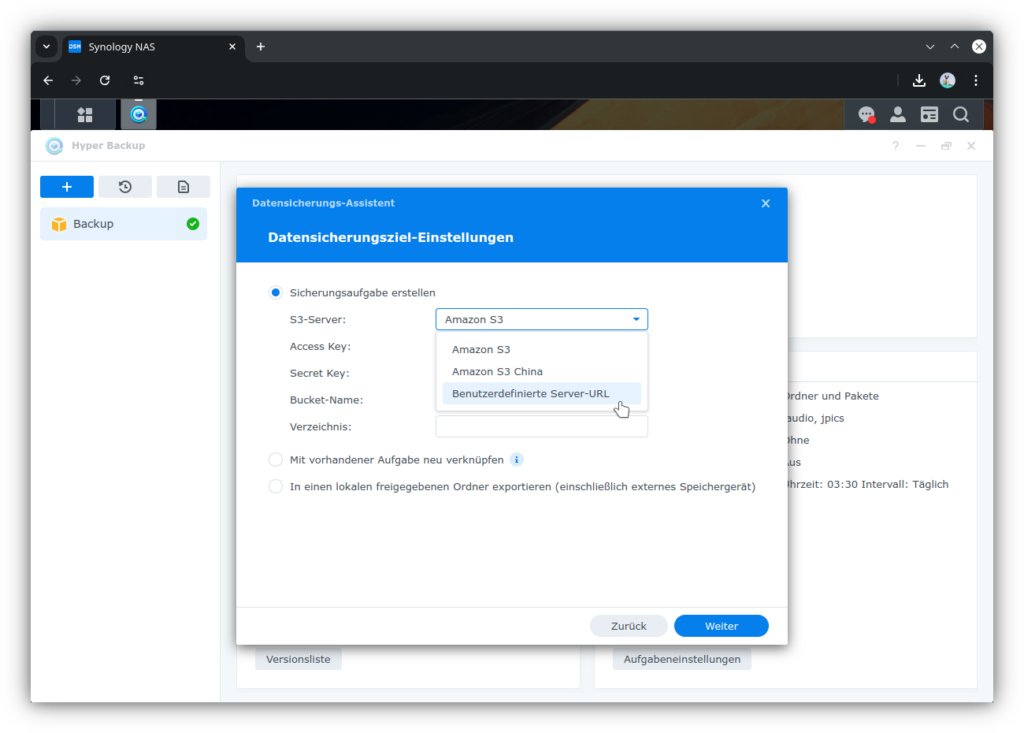
- S3 Server: "Custom URL"
- Server address:
backup.de.xcloud.eu - Signature Version: "v4"
- Request style: "Virtual Hosted"
- Access Key: the
Access Keyfrom step 4 - Secret Key: the
Secret Keyfrom step 4 -
Bucket name: select an existing bucket or "Create new bucket" and set a valid name.
Info
A valid bucket name consists of 3-62 lowercase letters, numbers, hyphens or dots. It must not form an IP address, and hyphens are only allowed between lowercase letters & numbers, i.e., not before or after dots, nor at the start or end of the name.
-
Directory: choose a suitable valid name for the backup.
Info
A valid directory name consists of upper and lowercase letters, numbers, and the special characters !-_.*'(). Other special characters (@&$+?,:;=) and spaces may work if correctly supported by the client being used. Avoid all other special characters (including emoji).
12. Select local directories on the NAS that should be backed up

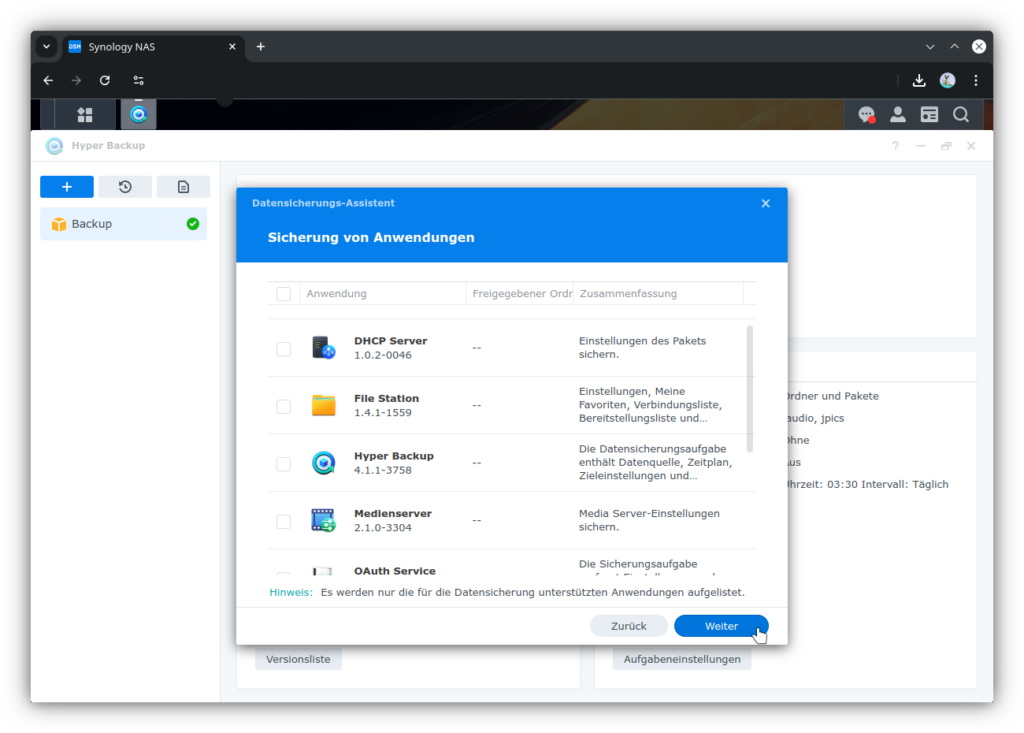
13. If desired: Select applications/packages on the NAS whose settings & data should be backed up
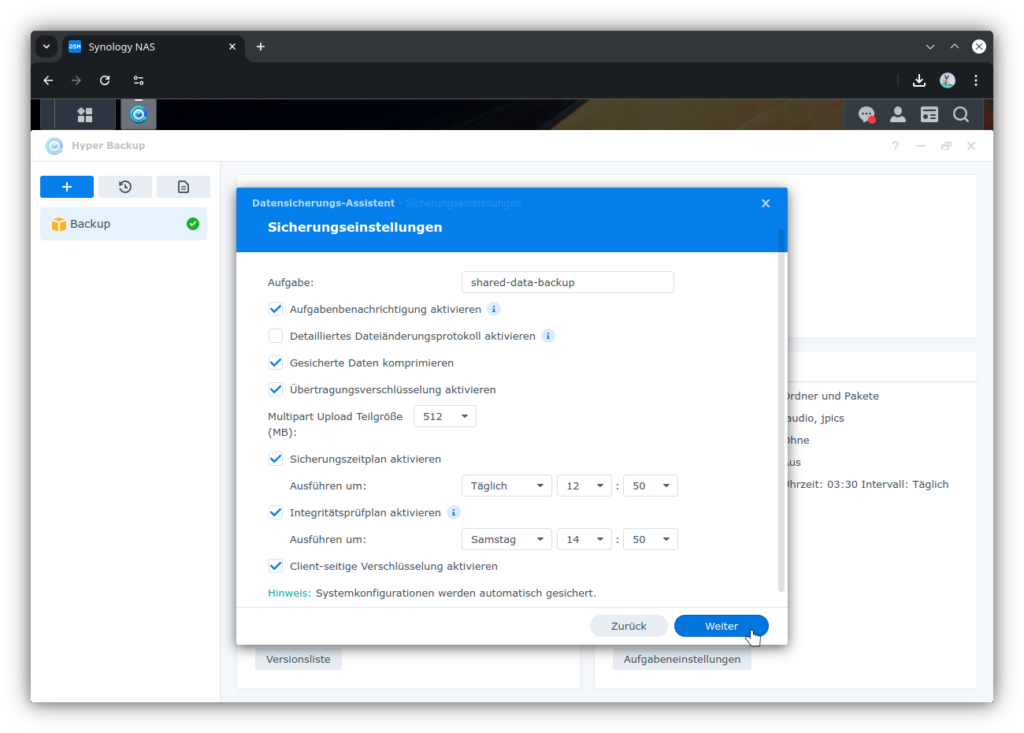
14. In backup settings, set the desired time and frequency for backup (e.g., daily) + integrity check (e.g., weekly). Leave all other settings at their default values.
- Set a name for the backup task. This will appear later in the DSM task manager.
- Enable Compress backup data
- Enable Transfer encryption
- Enable Backup schedule and set an appropriate execution time
- Enable Integrity check schedule and set an appropriate execution time
-
Recommended: Enable Client-side encryption
Caution
Ensure secure key storage.
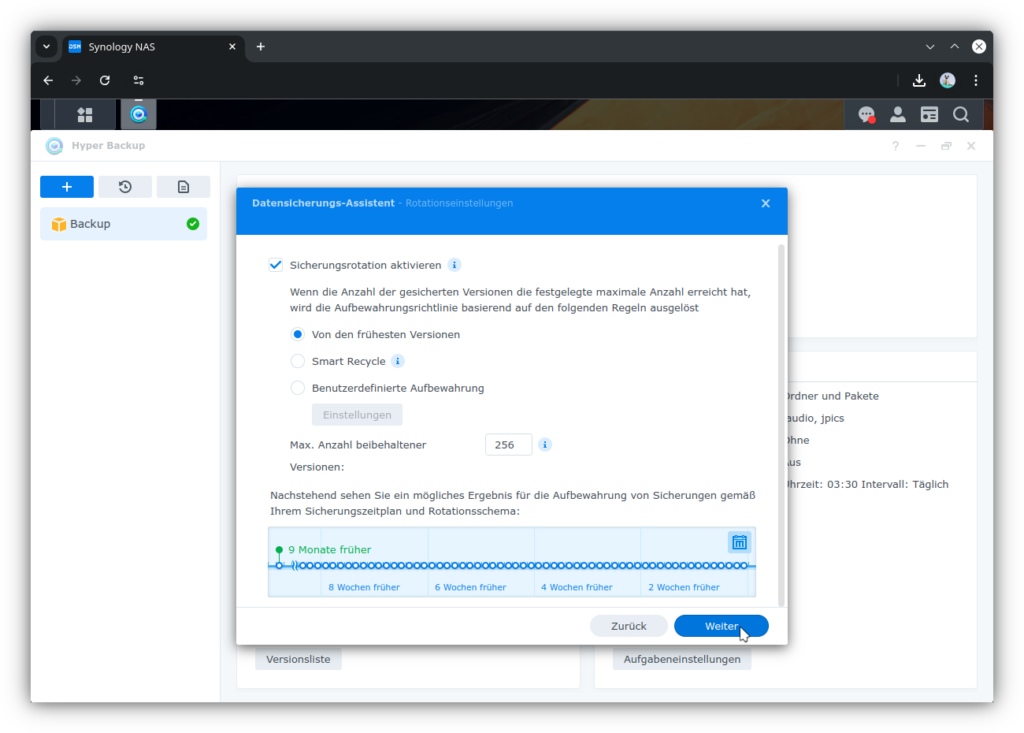
15. Enable backup rotation
- Configure rules. Recommended options are:
- From the earliest versions: easier to understand guarantees
-
Smart Recycle: more complex rules, but the policy combines high temporal resolution for recently changed files with longer retention of old versions
-
Set maximum number of versions
Info
Many versions increase the maximum backup size considerably, but only require additional storage space for changed files. Unchanged files are versioned with only minimal additional storage space.
16. Review the summary. Click Finish.
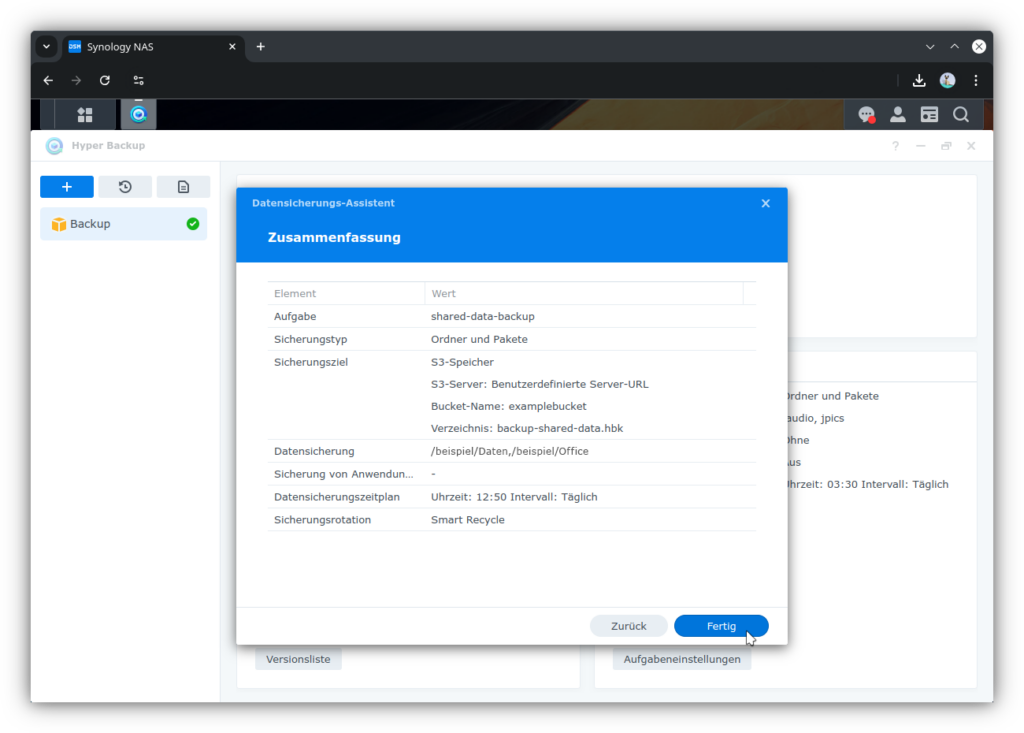
The first backup will start at the scheduled time.
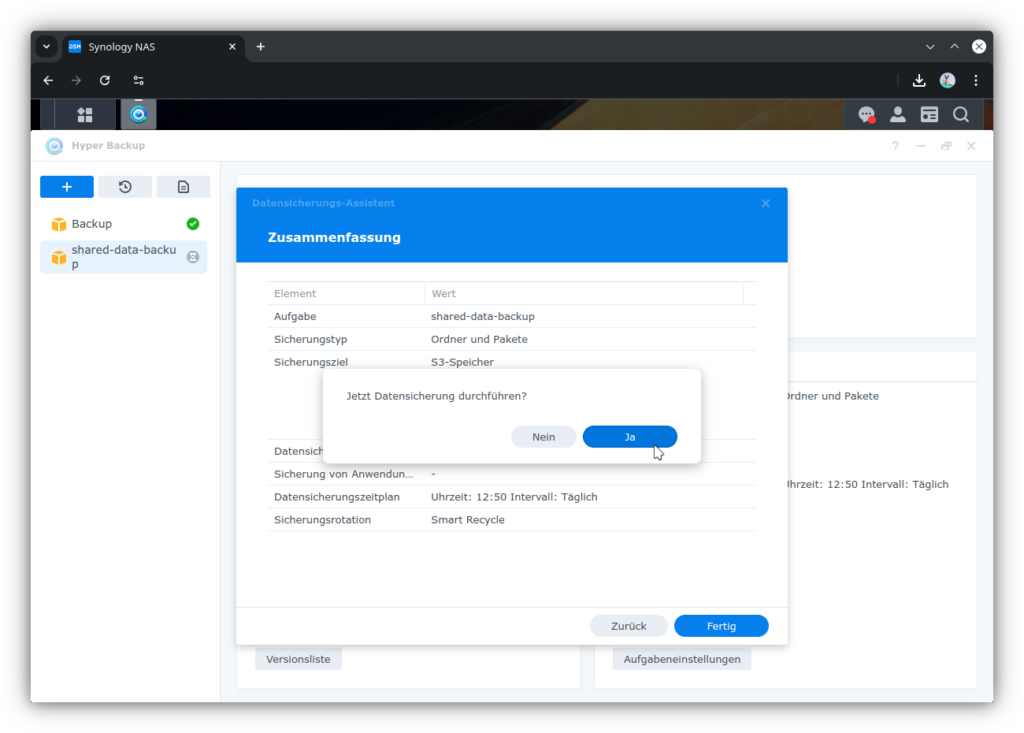
Optional: Start the first backup immediately
17. Answer the question Run backup now? with Yes. If No is selected, the first backup will start according to the schedule (Step 14).
Info
The first backup can take many hours, so ideally only start it immediately if the device will not be used intensively during the next period.
Additional Resources
Synology Knowledge Base article Hyper Backup